You will learn how to:
- Create a Kobble project
- Configure your authentication portal
- Create a new Kobble Application
Let’s get started
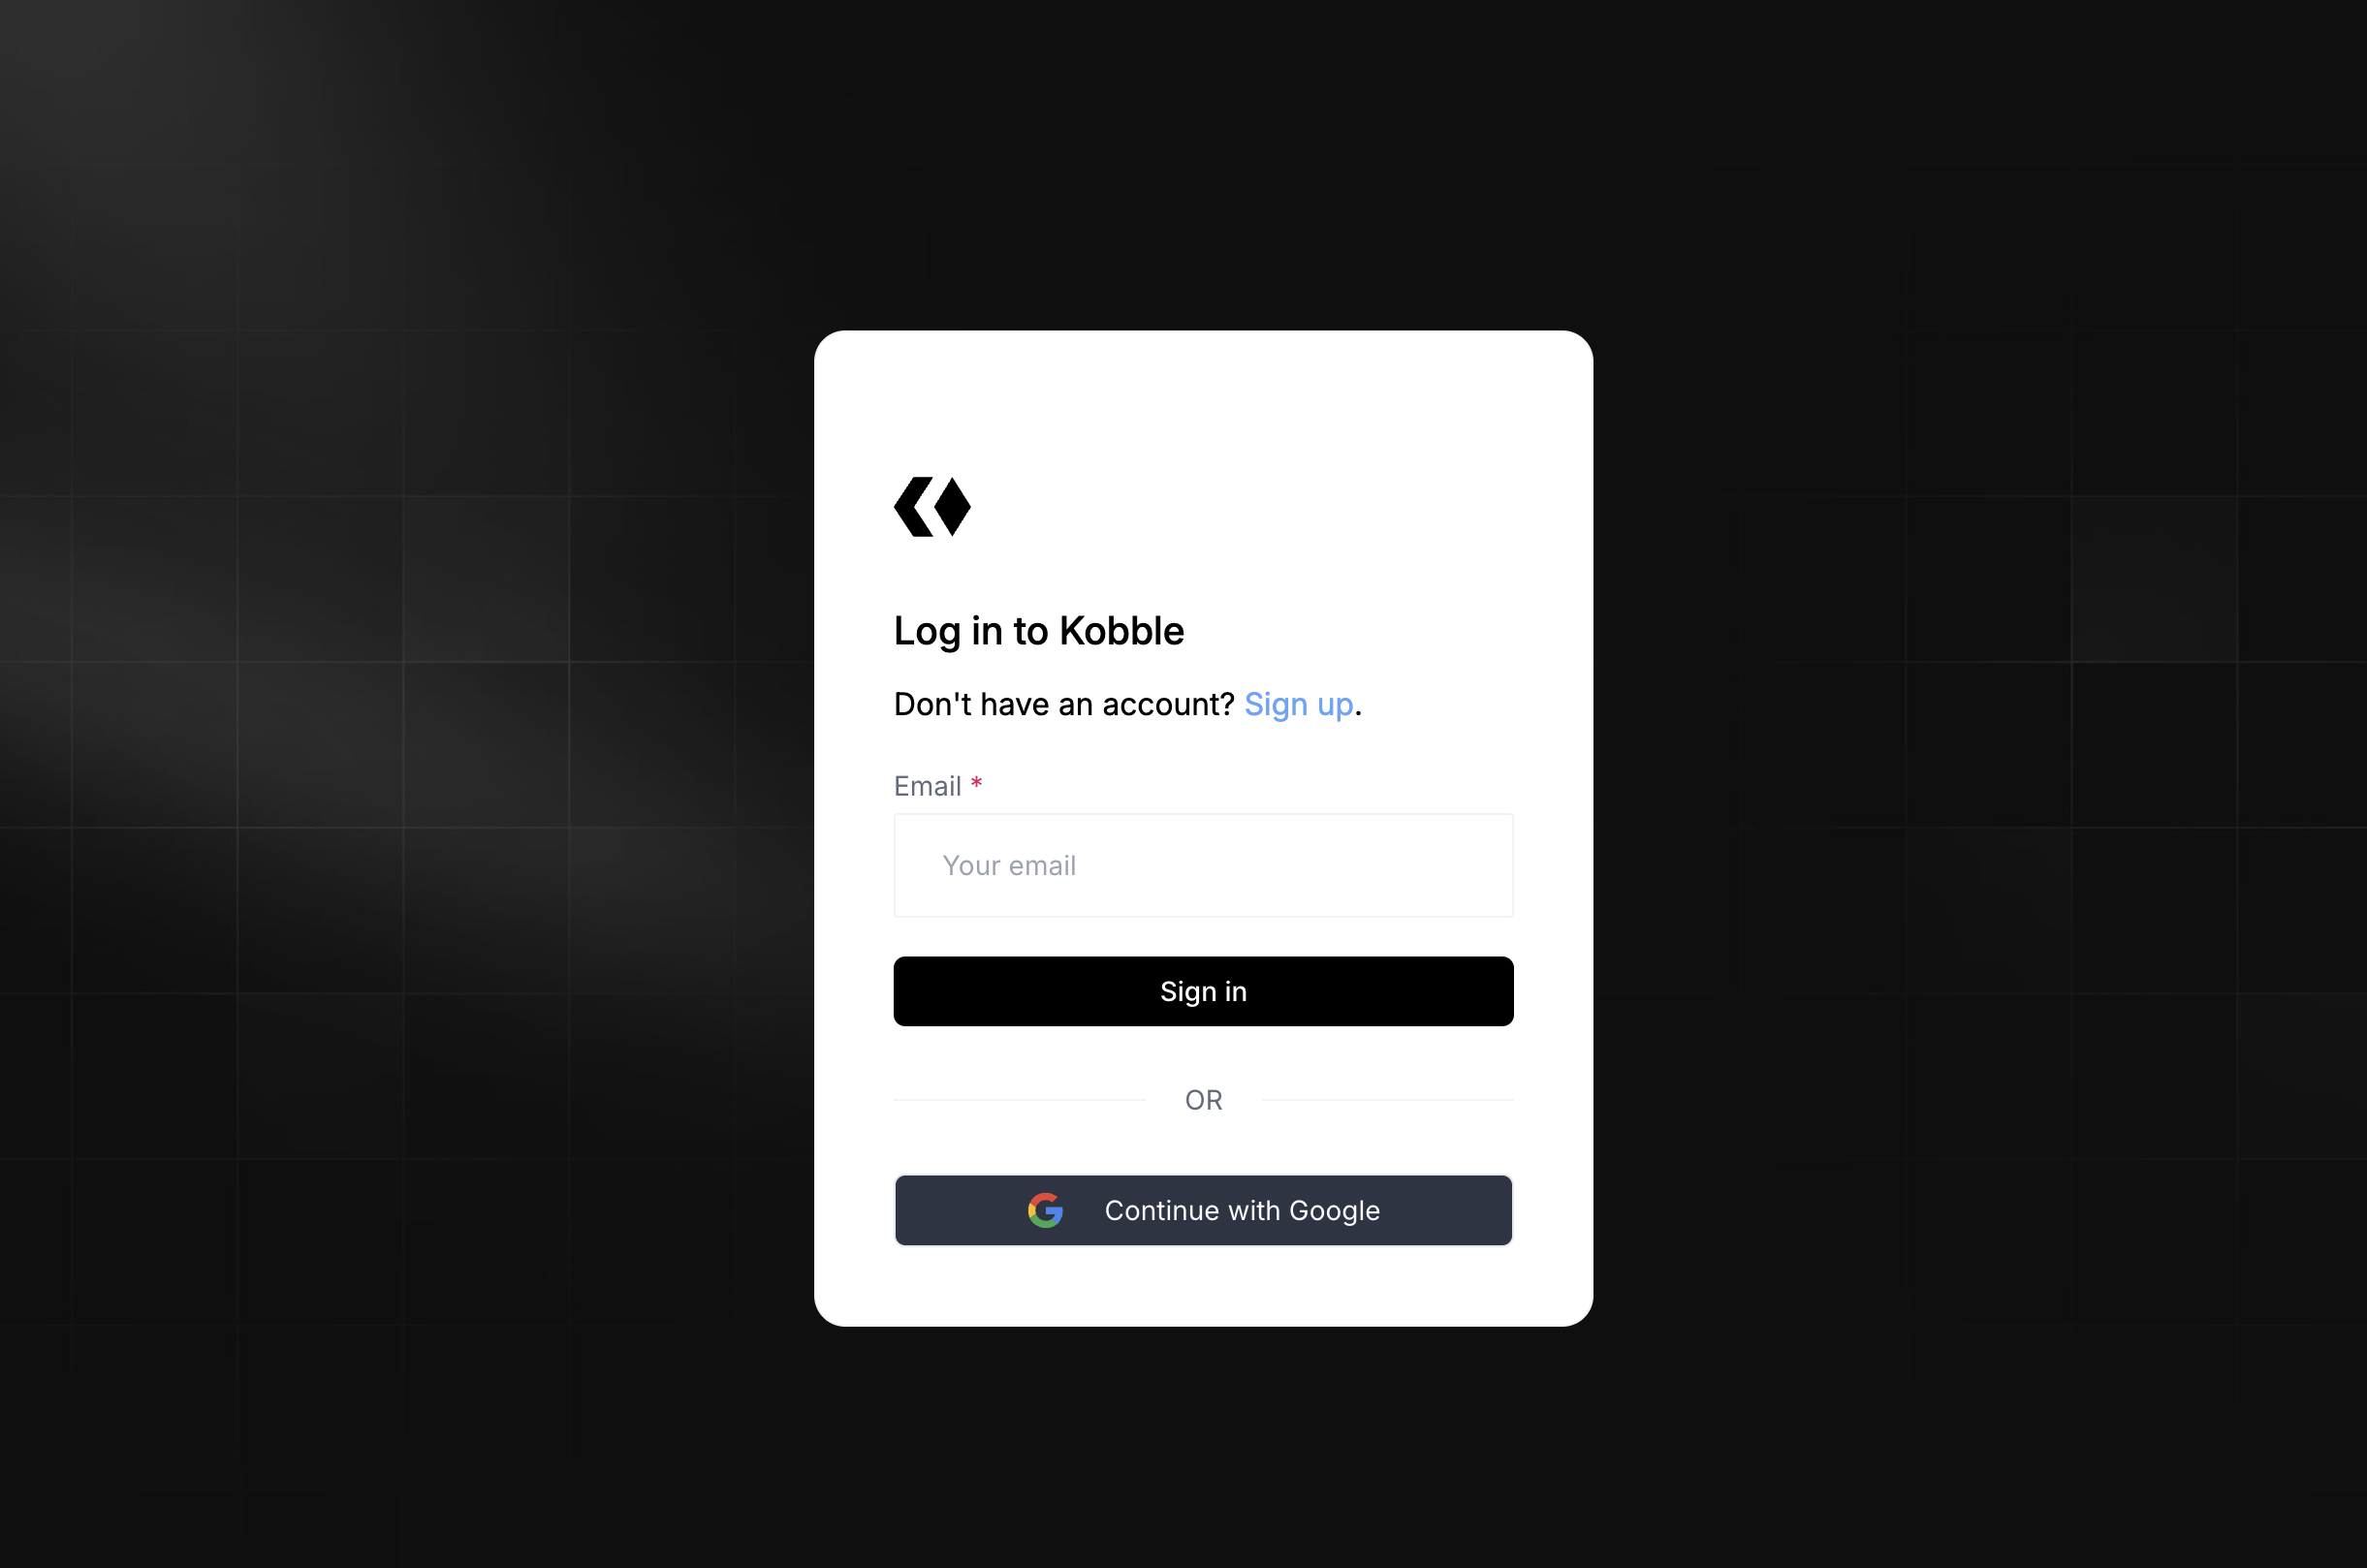
Sign in to Kobble
Create a new project
If you just signed up, you will be prompted to create a new project.If you are already logged in, click on your active project name and then click on 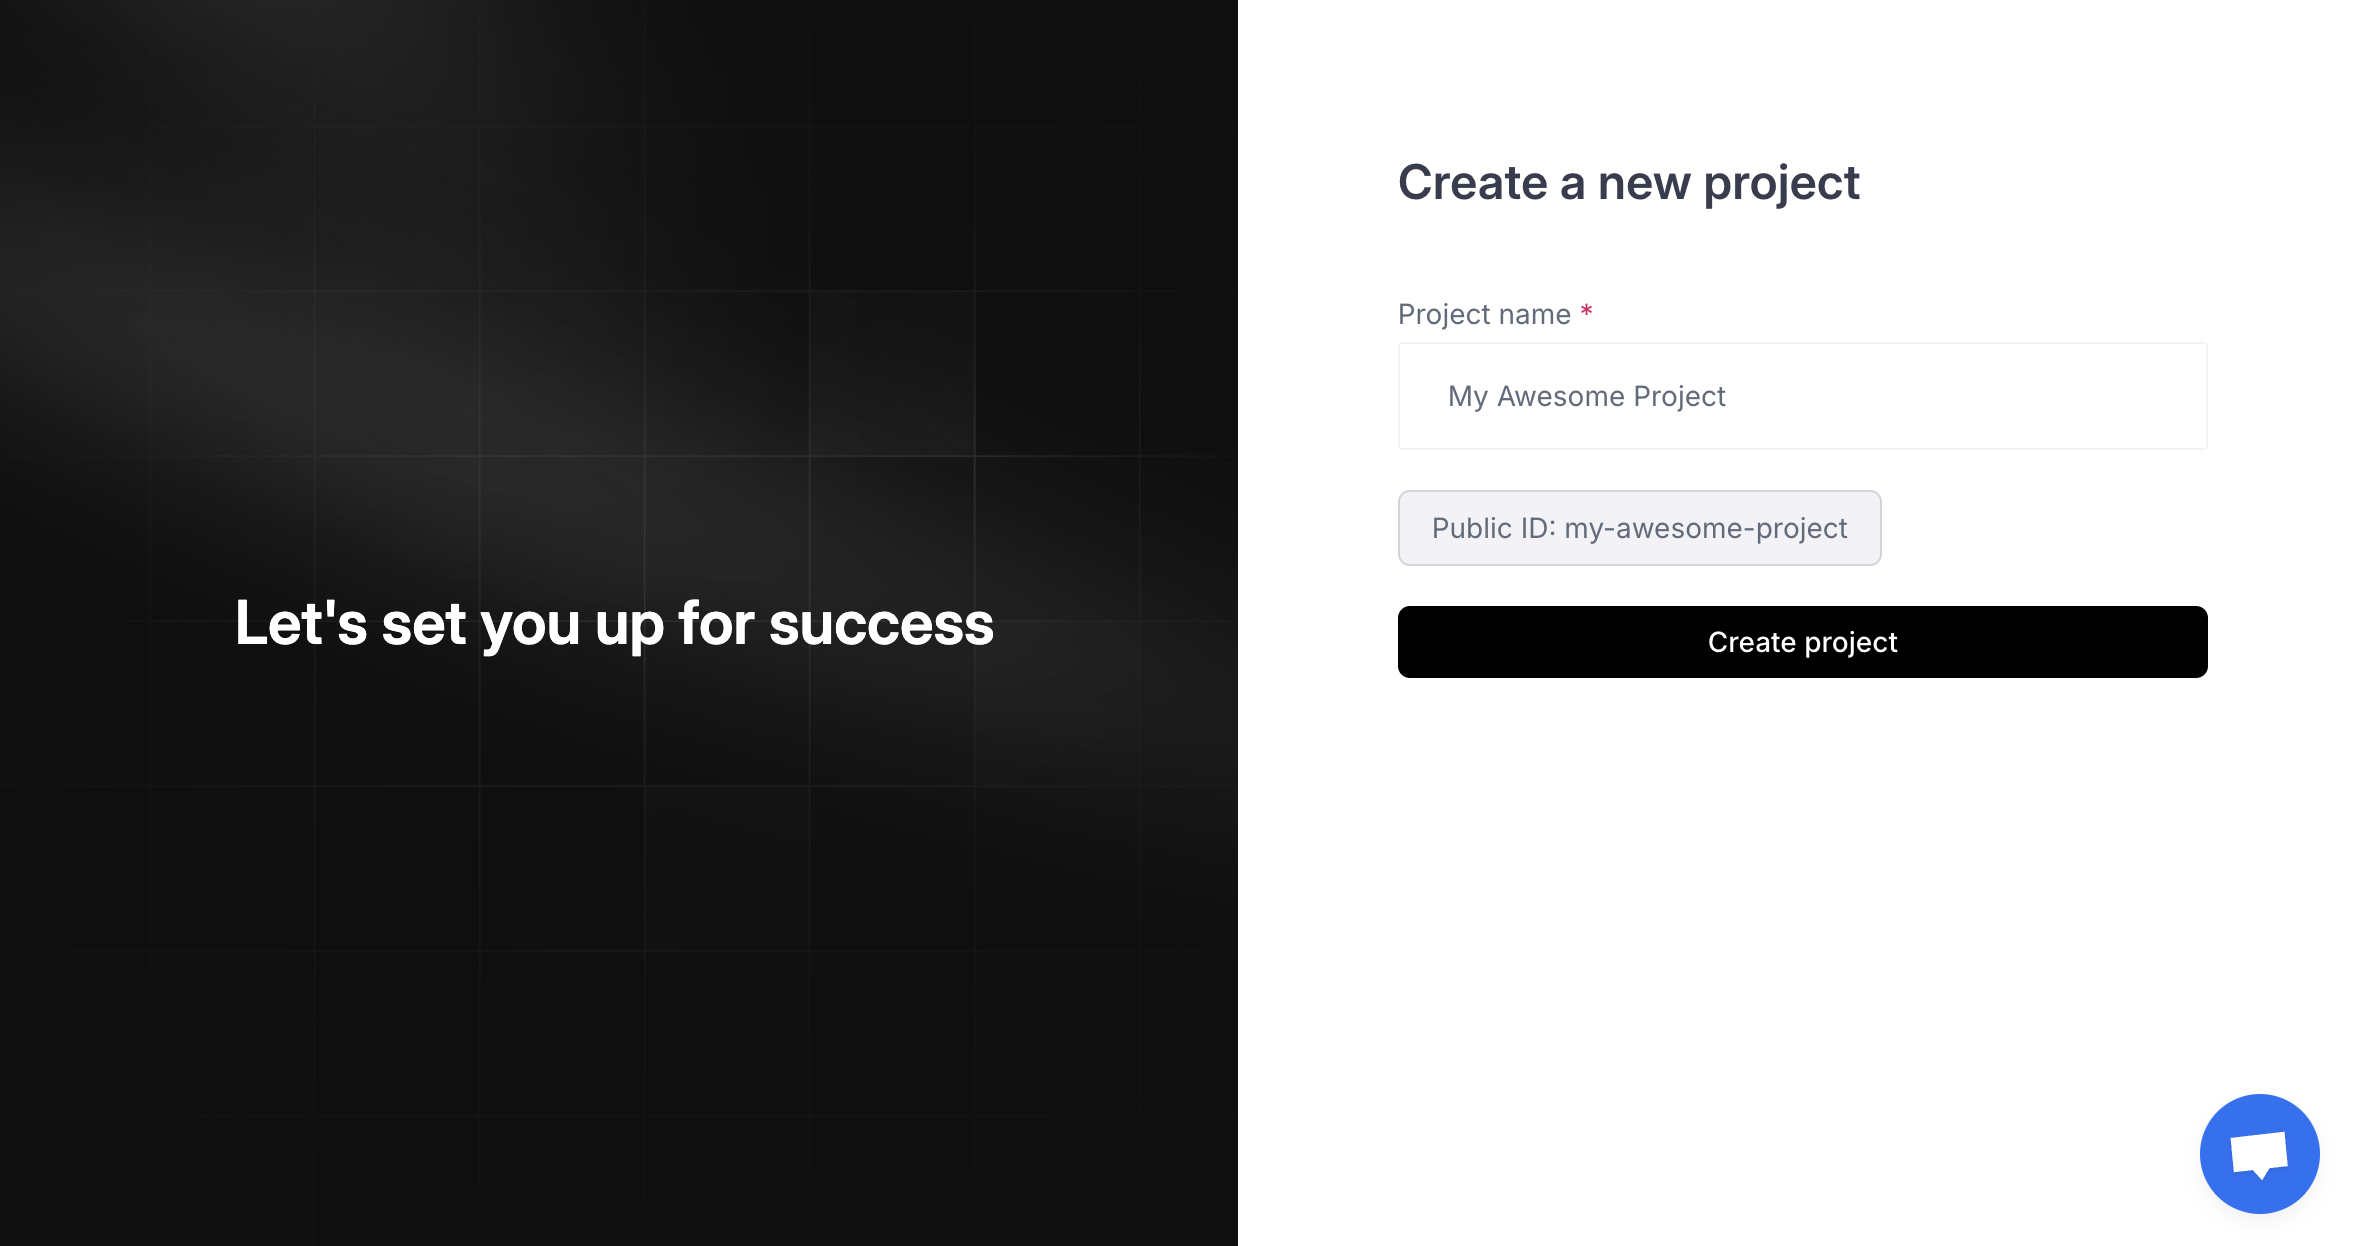
Create New Project.Configure Authentication
Click on the 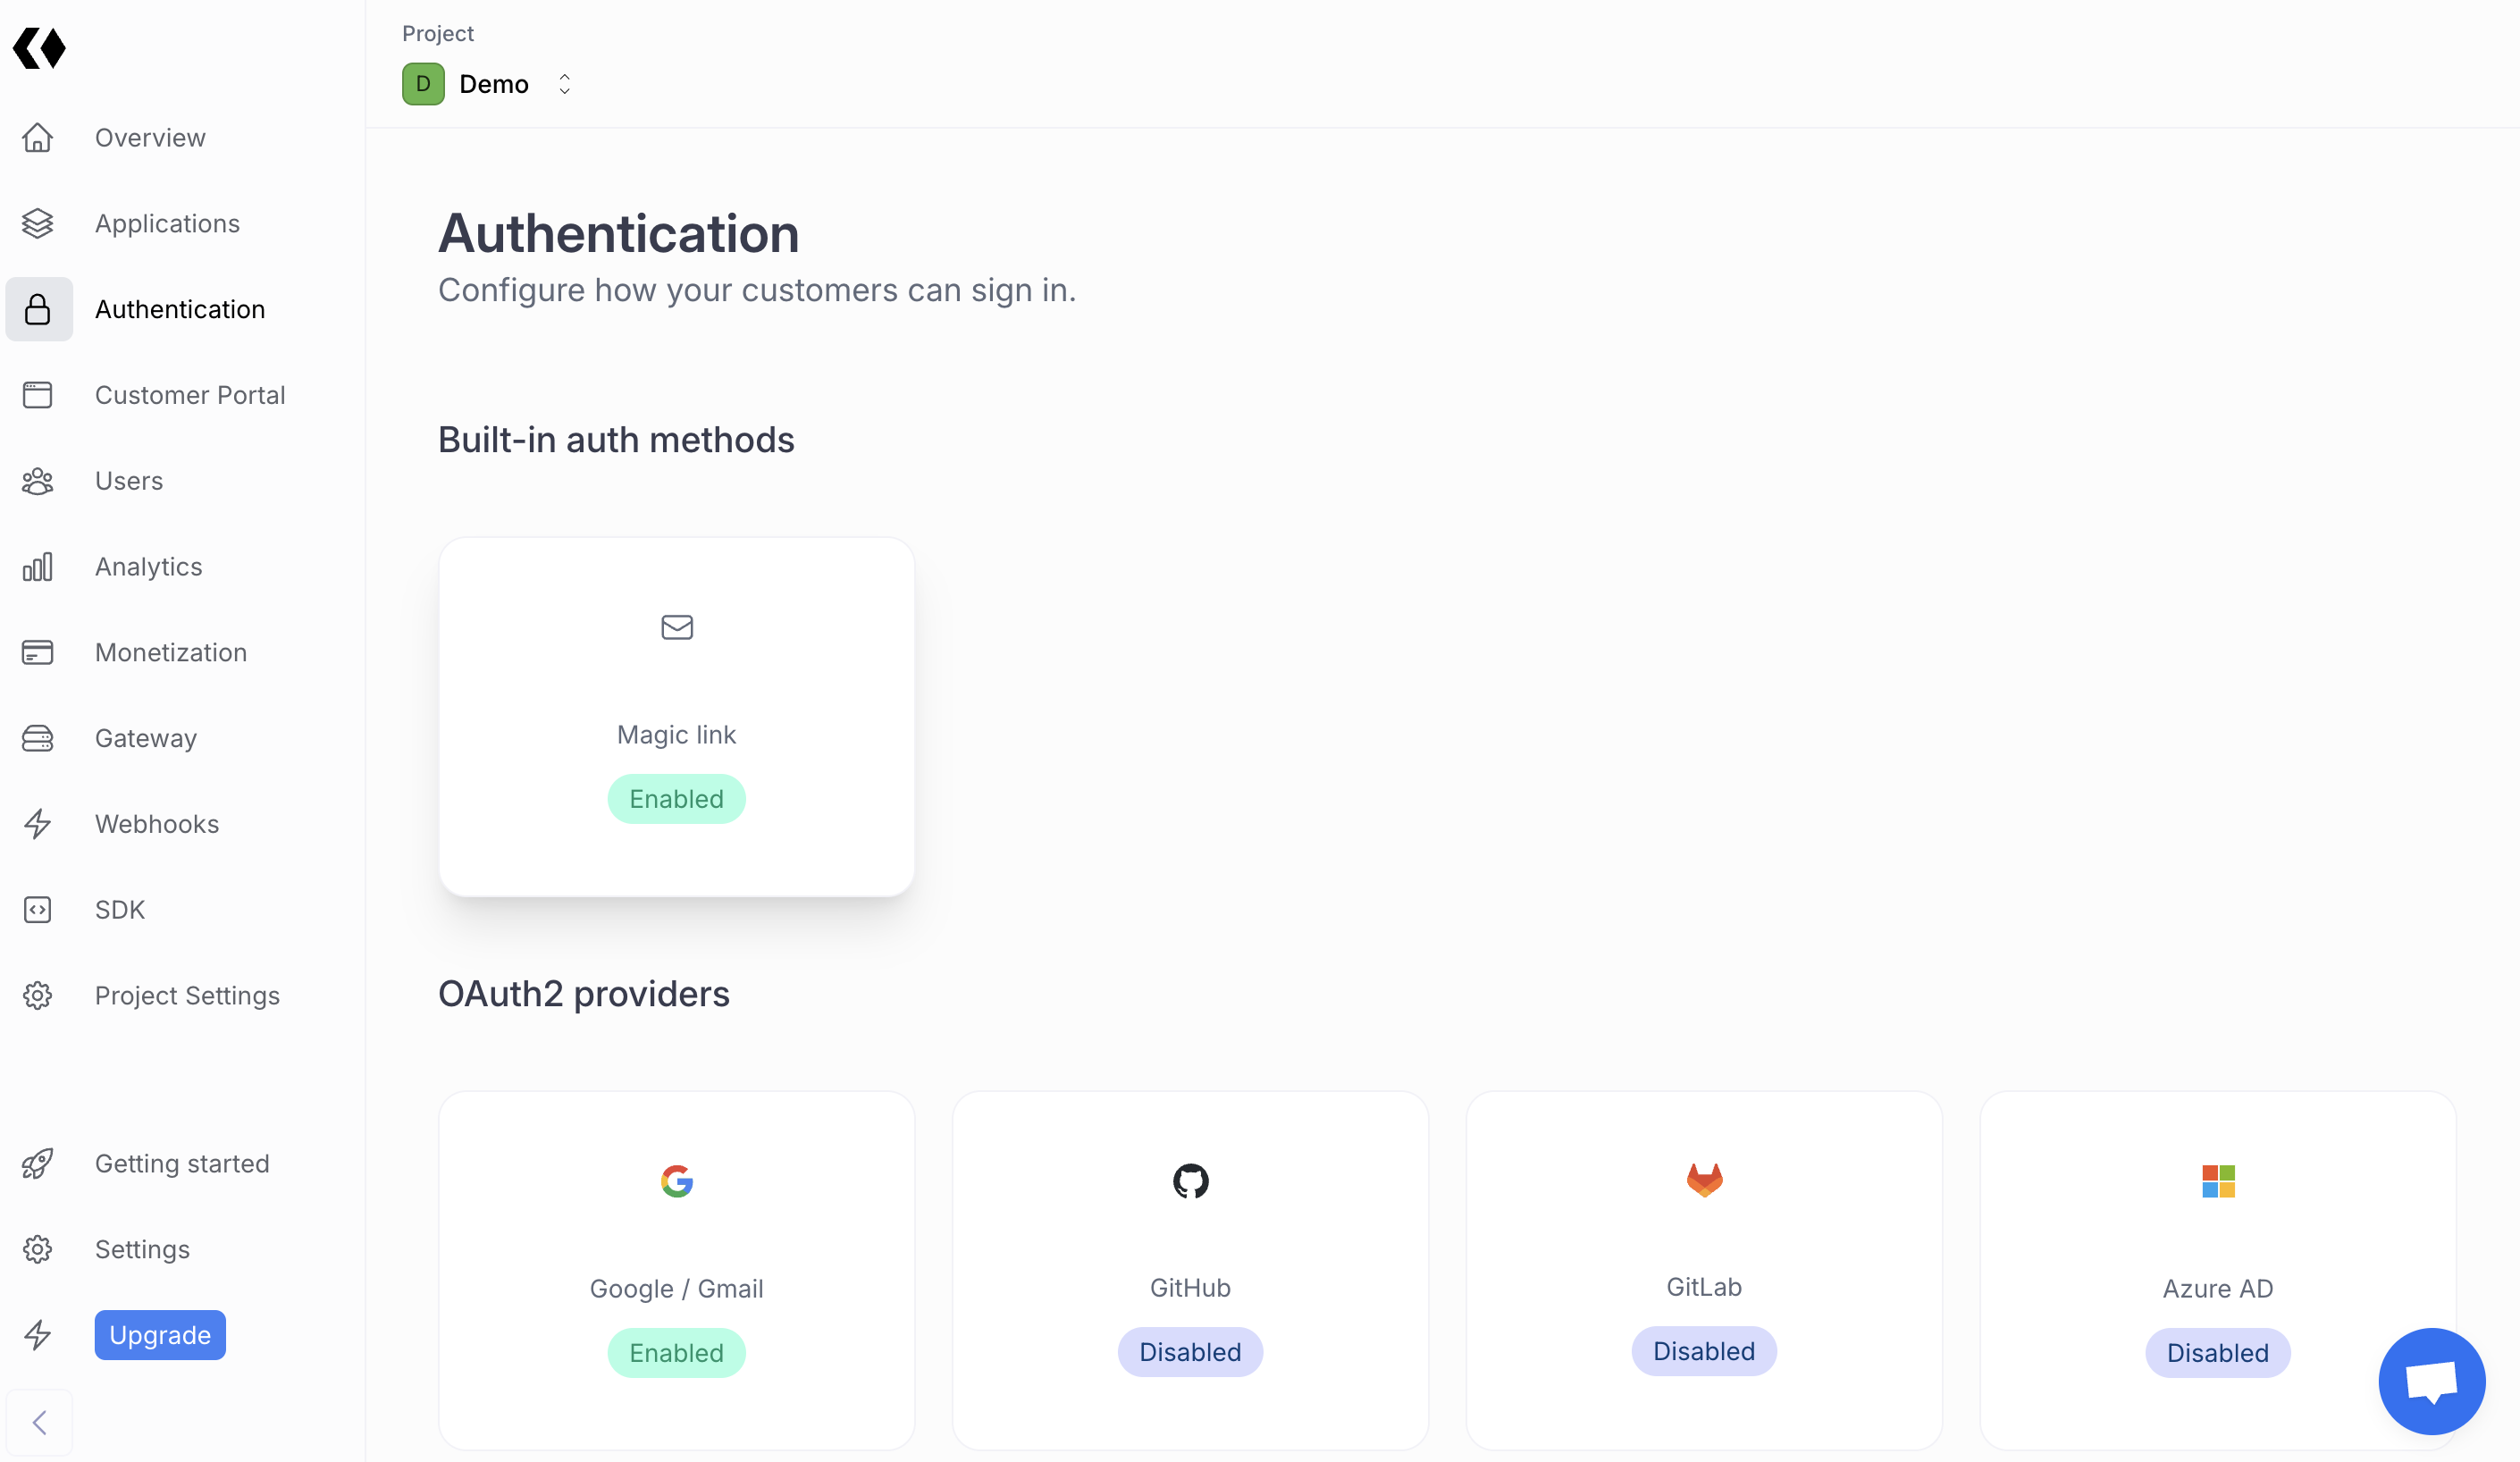
Authentication tab in the left sidebar.Select the provider you want to use for authentication.You can choose from Google, Facebook, Twitter, Github, or Email and more.Configure and enable the provider you want to use.For more info specific to each provider, check out the Authentication section.
Create a Kobble Application
Open the Applications tab in the left sidebar.Click on 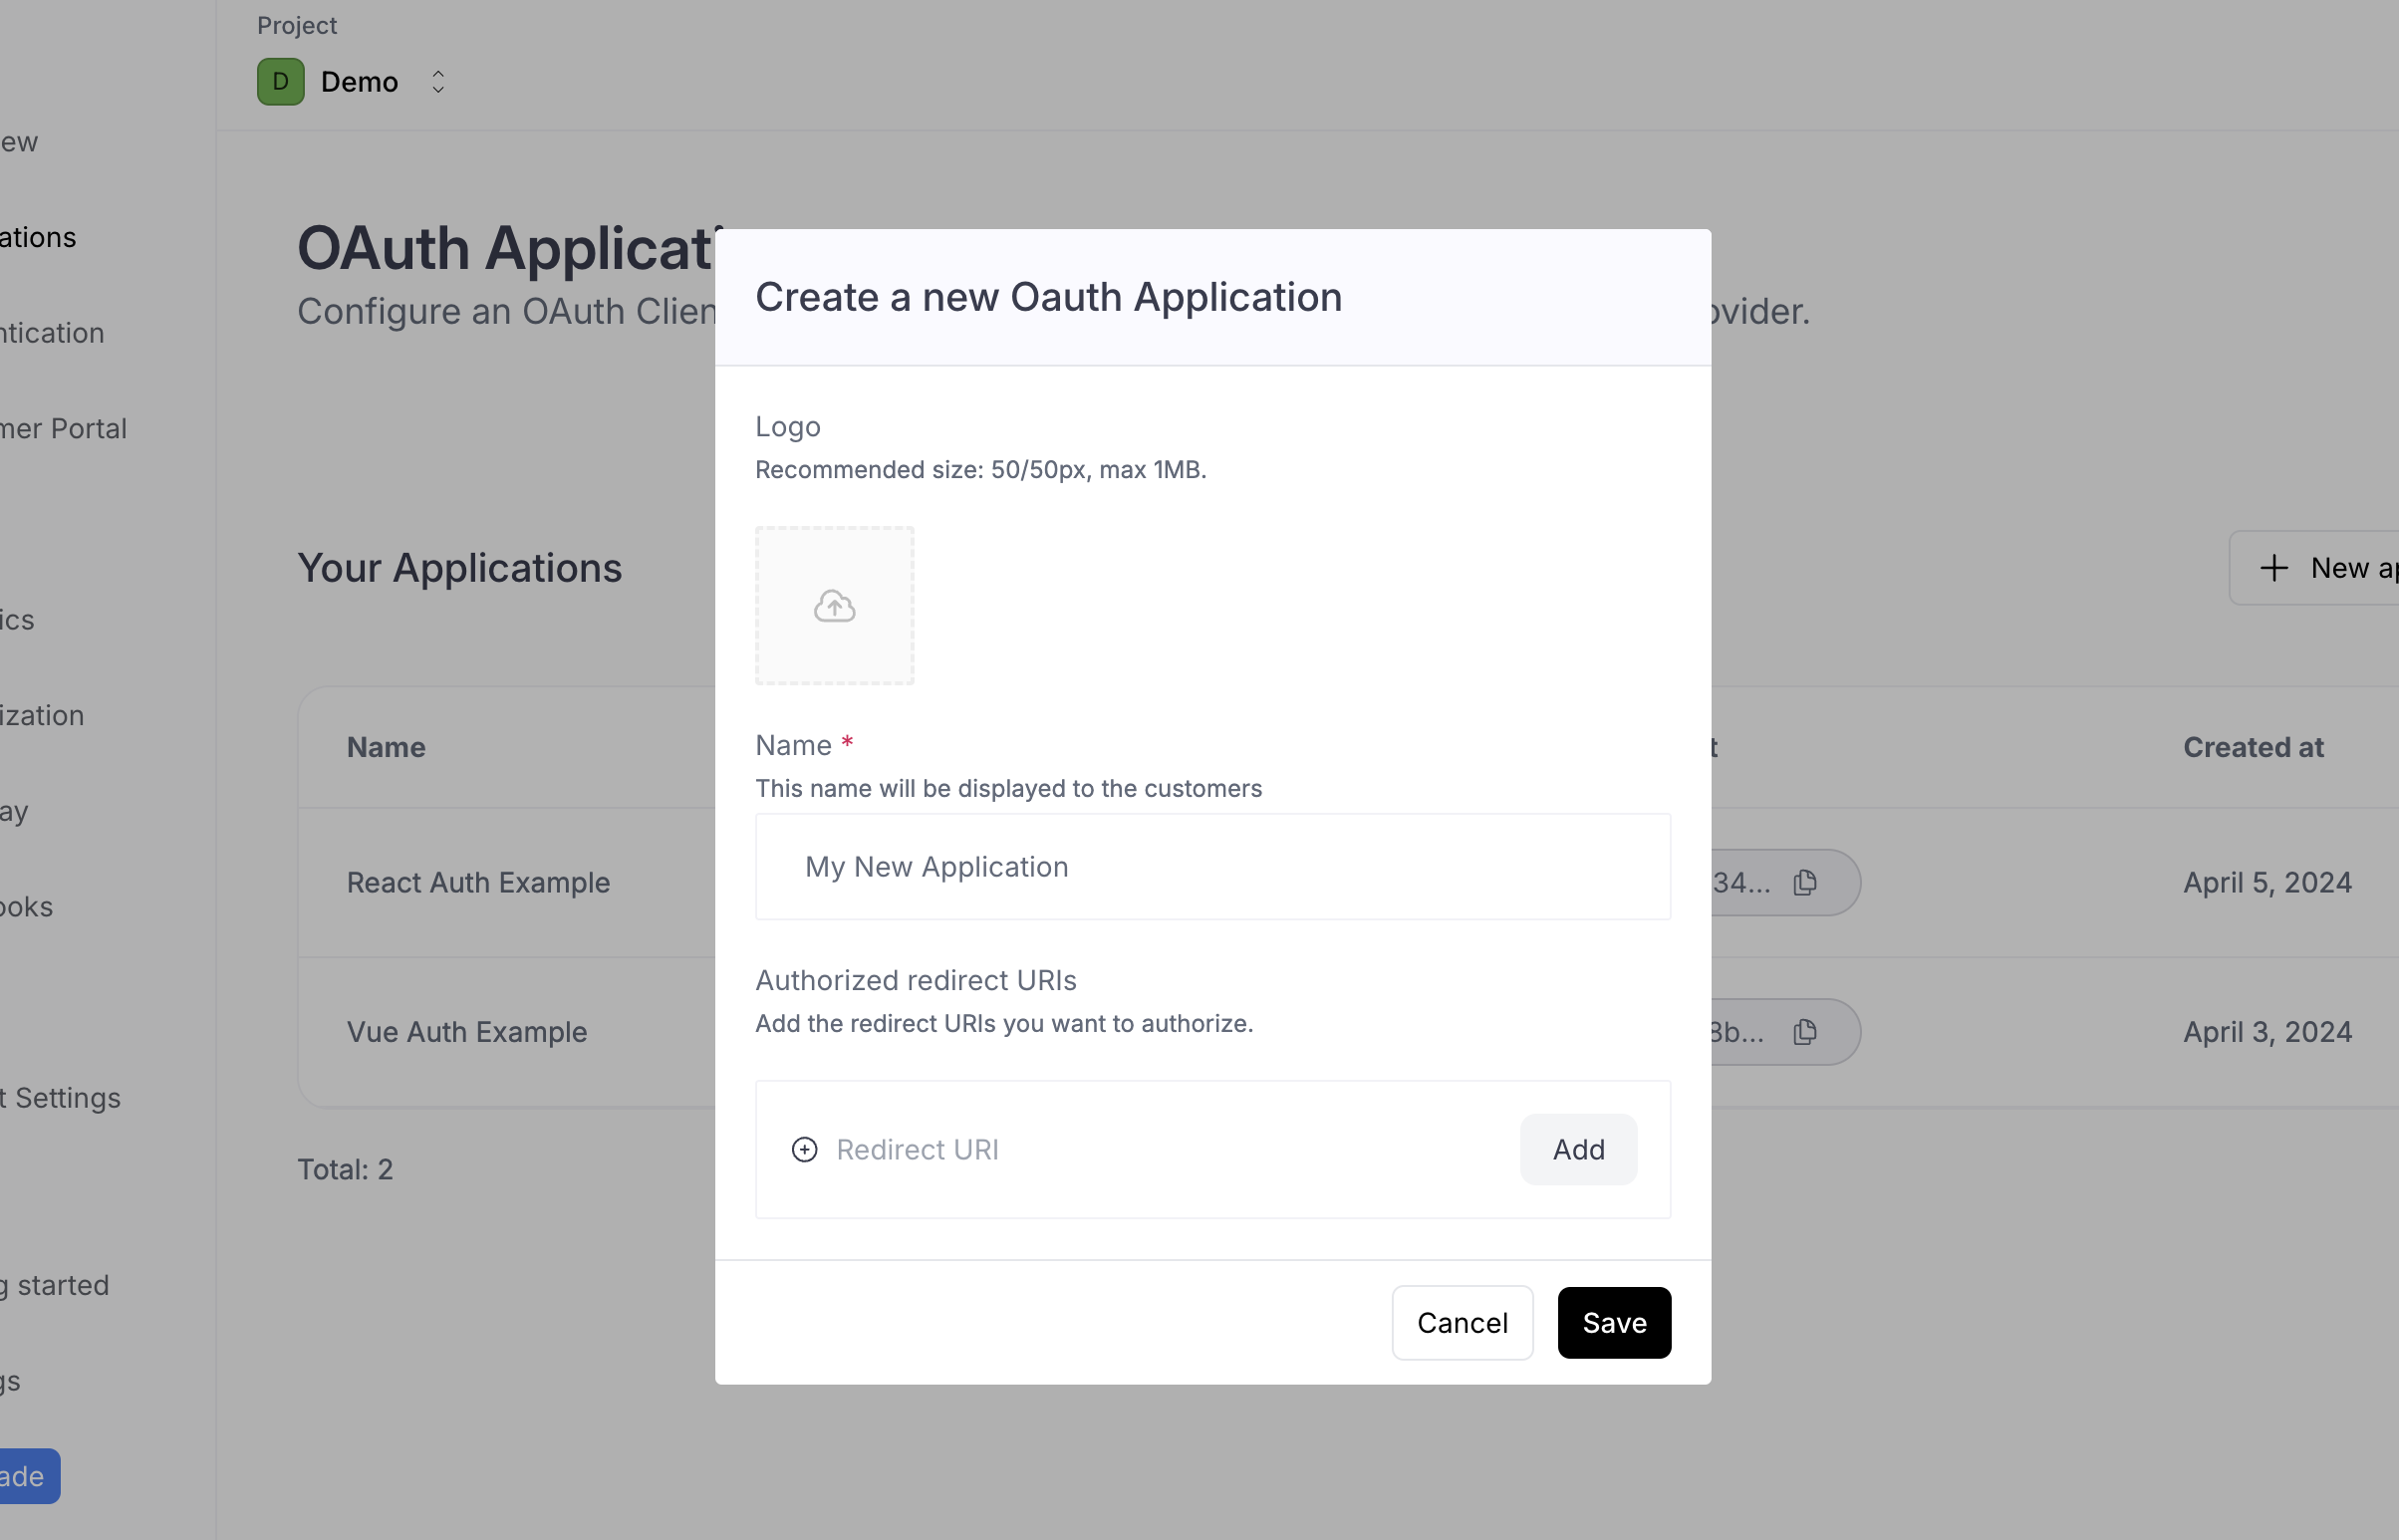
Create New Application.Fill in the required fields and click on Create Application.At this stage you most likely don’t know your Redirect URL, so you can leave it empty for now.If you know your Redirect URL, you can fill it in now.