- Email provider (such as Magic Link)
- Social login providers (Google, GitHub, GitLab, Microsoft, etc.)

Authentication flow
The following flow is handled automatically by Kobble when using our SDKs.
- A user clicks on the “Login” button on your web application.
- The user is redirected to your Customer Portal, where they can choose a login provider.
- Once signed in, the user is redirected back to your application.
- Then, with both our frontend and backend SDKs, you can identify the user and verify their permissions, quotas, and more.
Configuring Login Providers
You can easily configure login providers from your Kobble dashboard.- Open your Kobble dashboard and navigate to the Authentication section.
- Choose and open the login provider(s) you wish to enable for your portal.
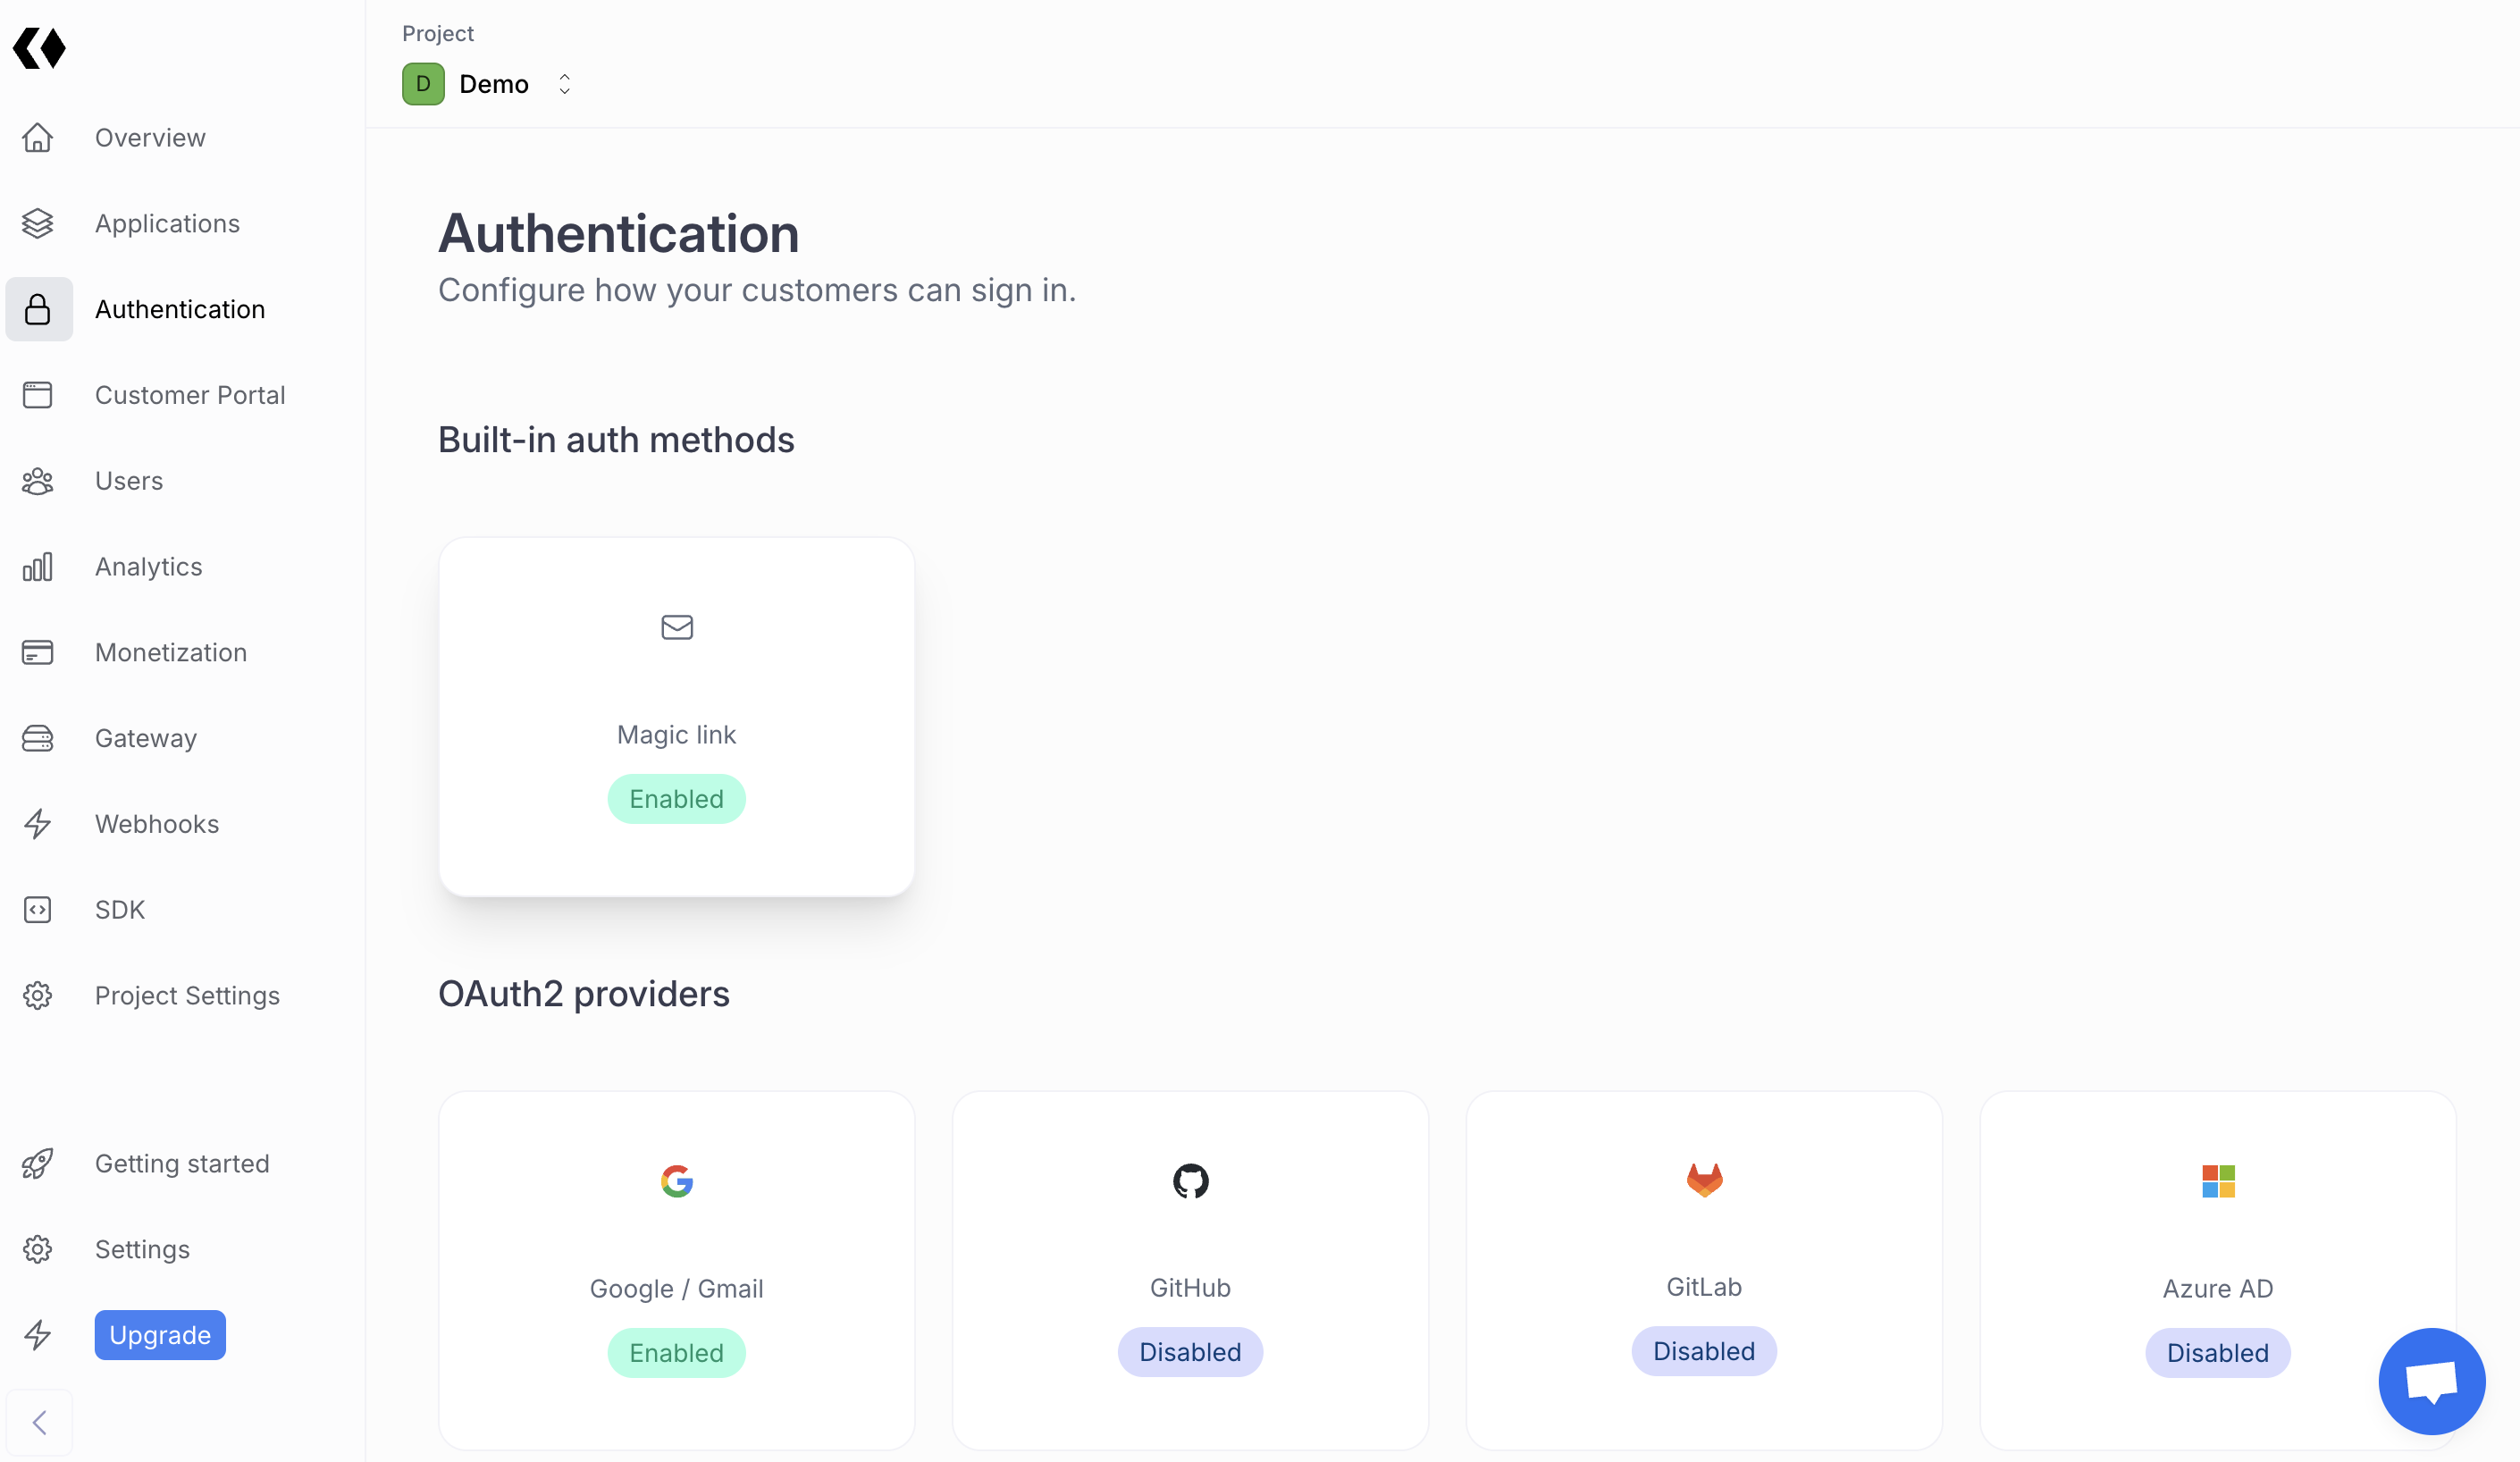
Even if it could be tempting to enable all the providers, it’s better to start with one or two. This will help you keep your configuration simple and avoid potential issues. Also note that OAuth providers such as Google will provide more information such as the profile image and the full name of the user.
Email provider
Generally, there’s minimal configuration needed. You can set this up quickly without any additional steps.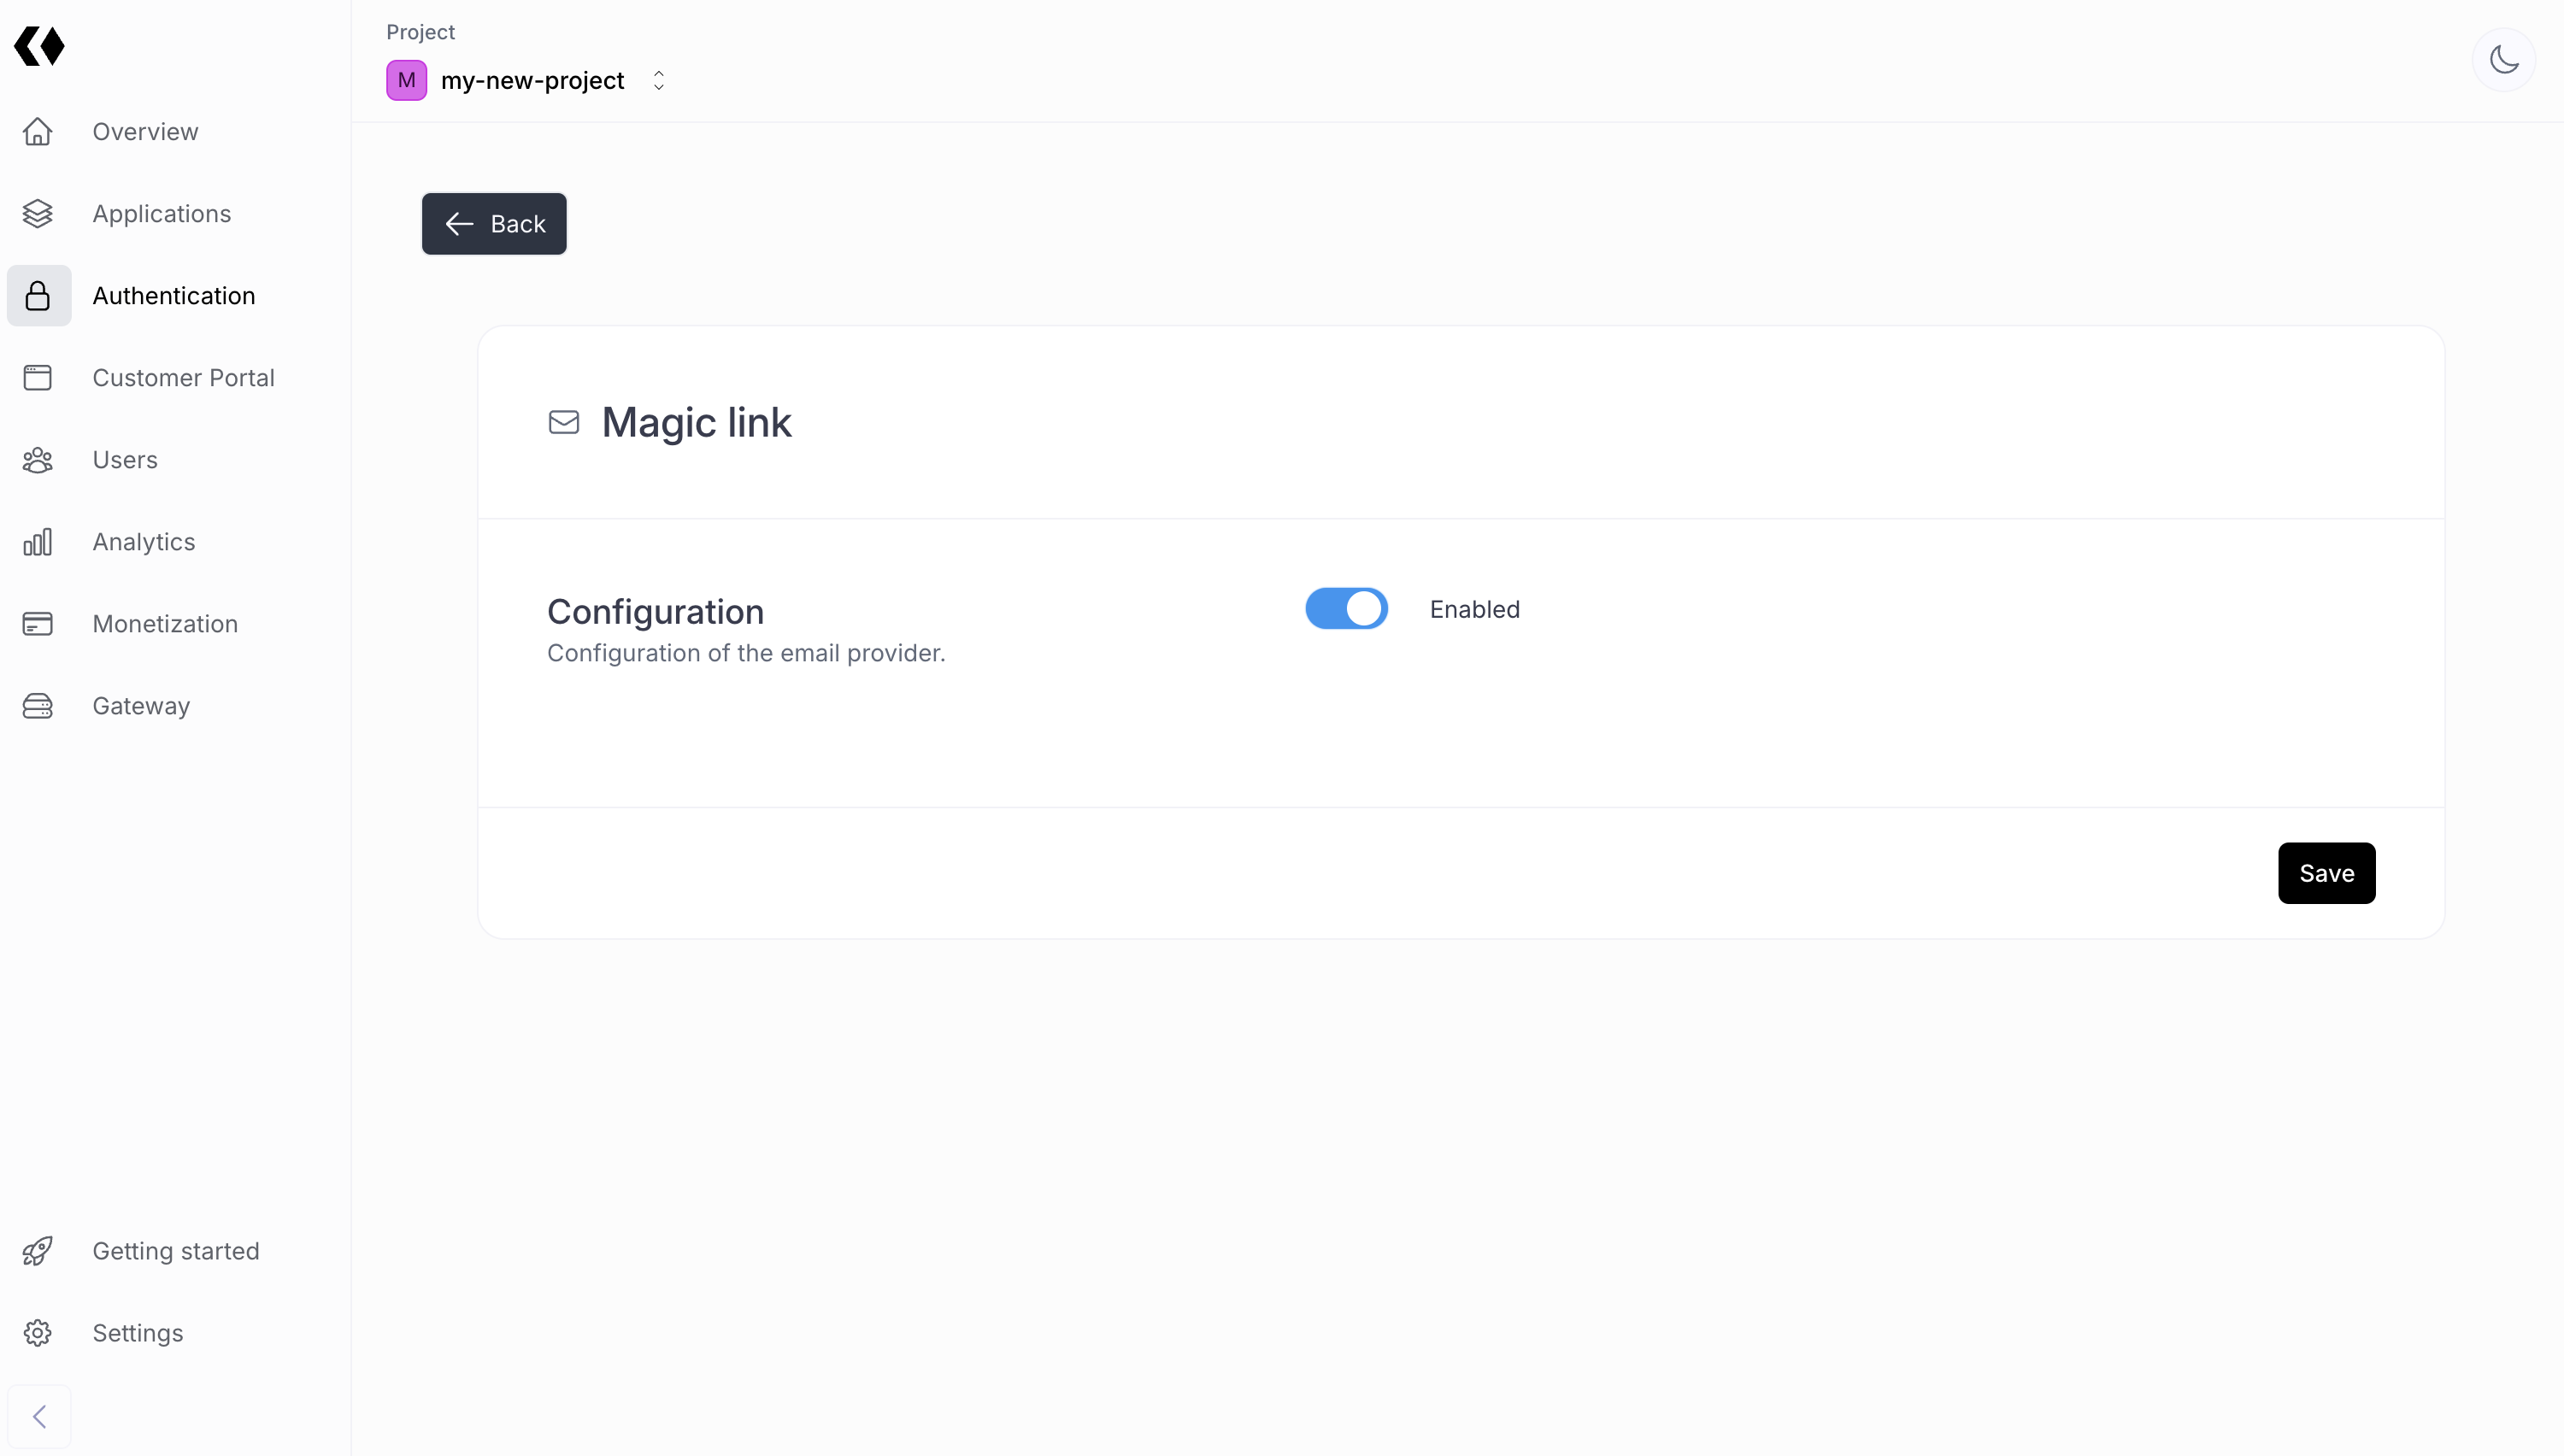
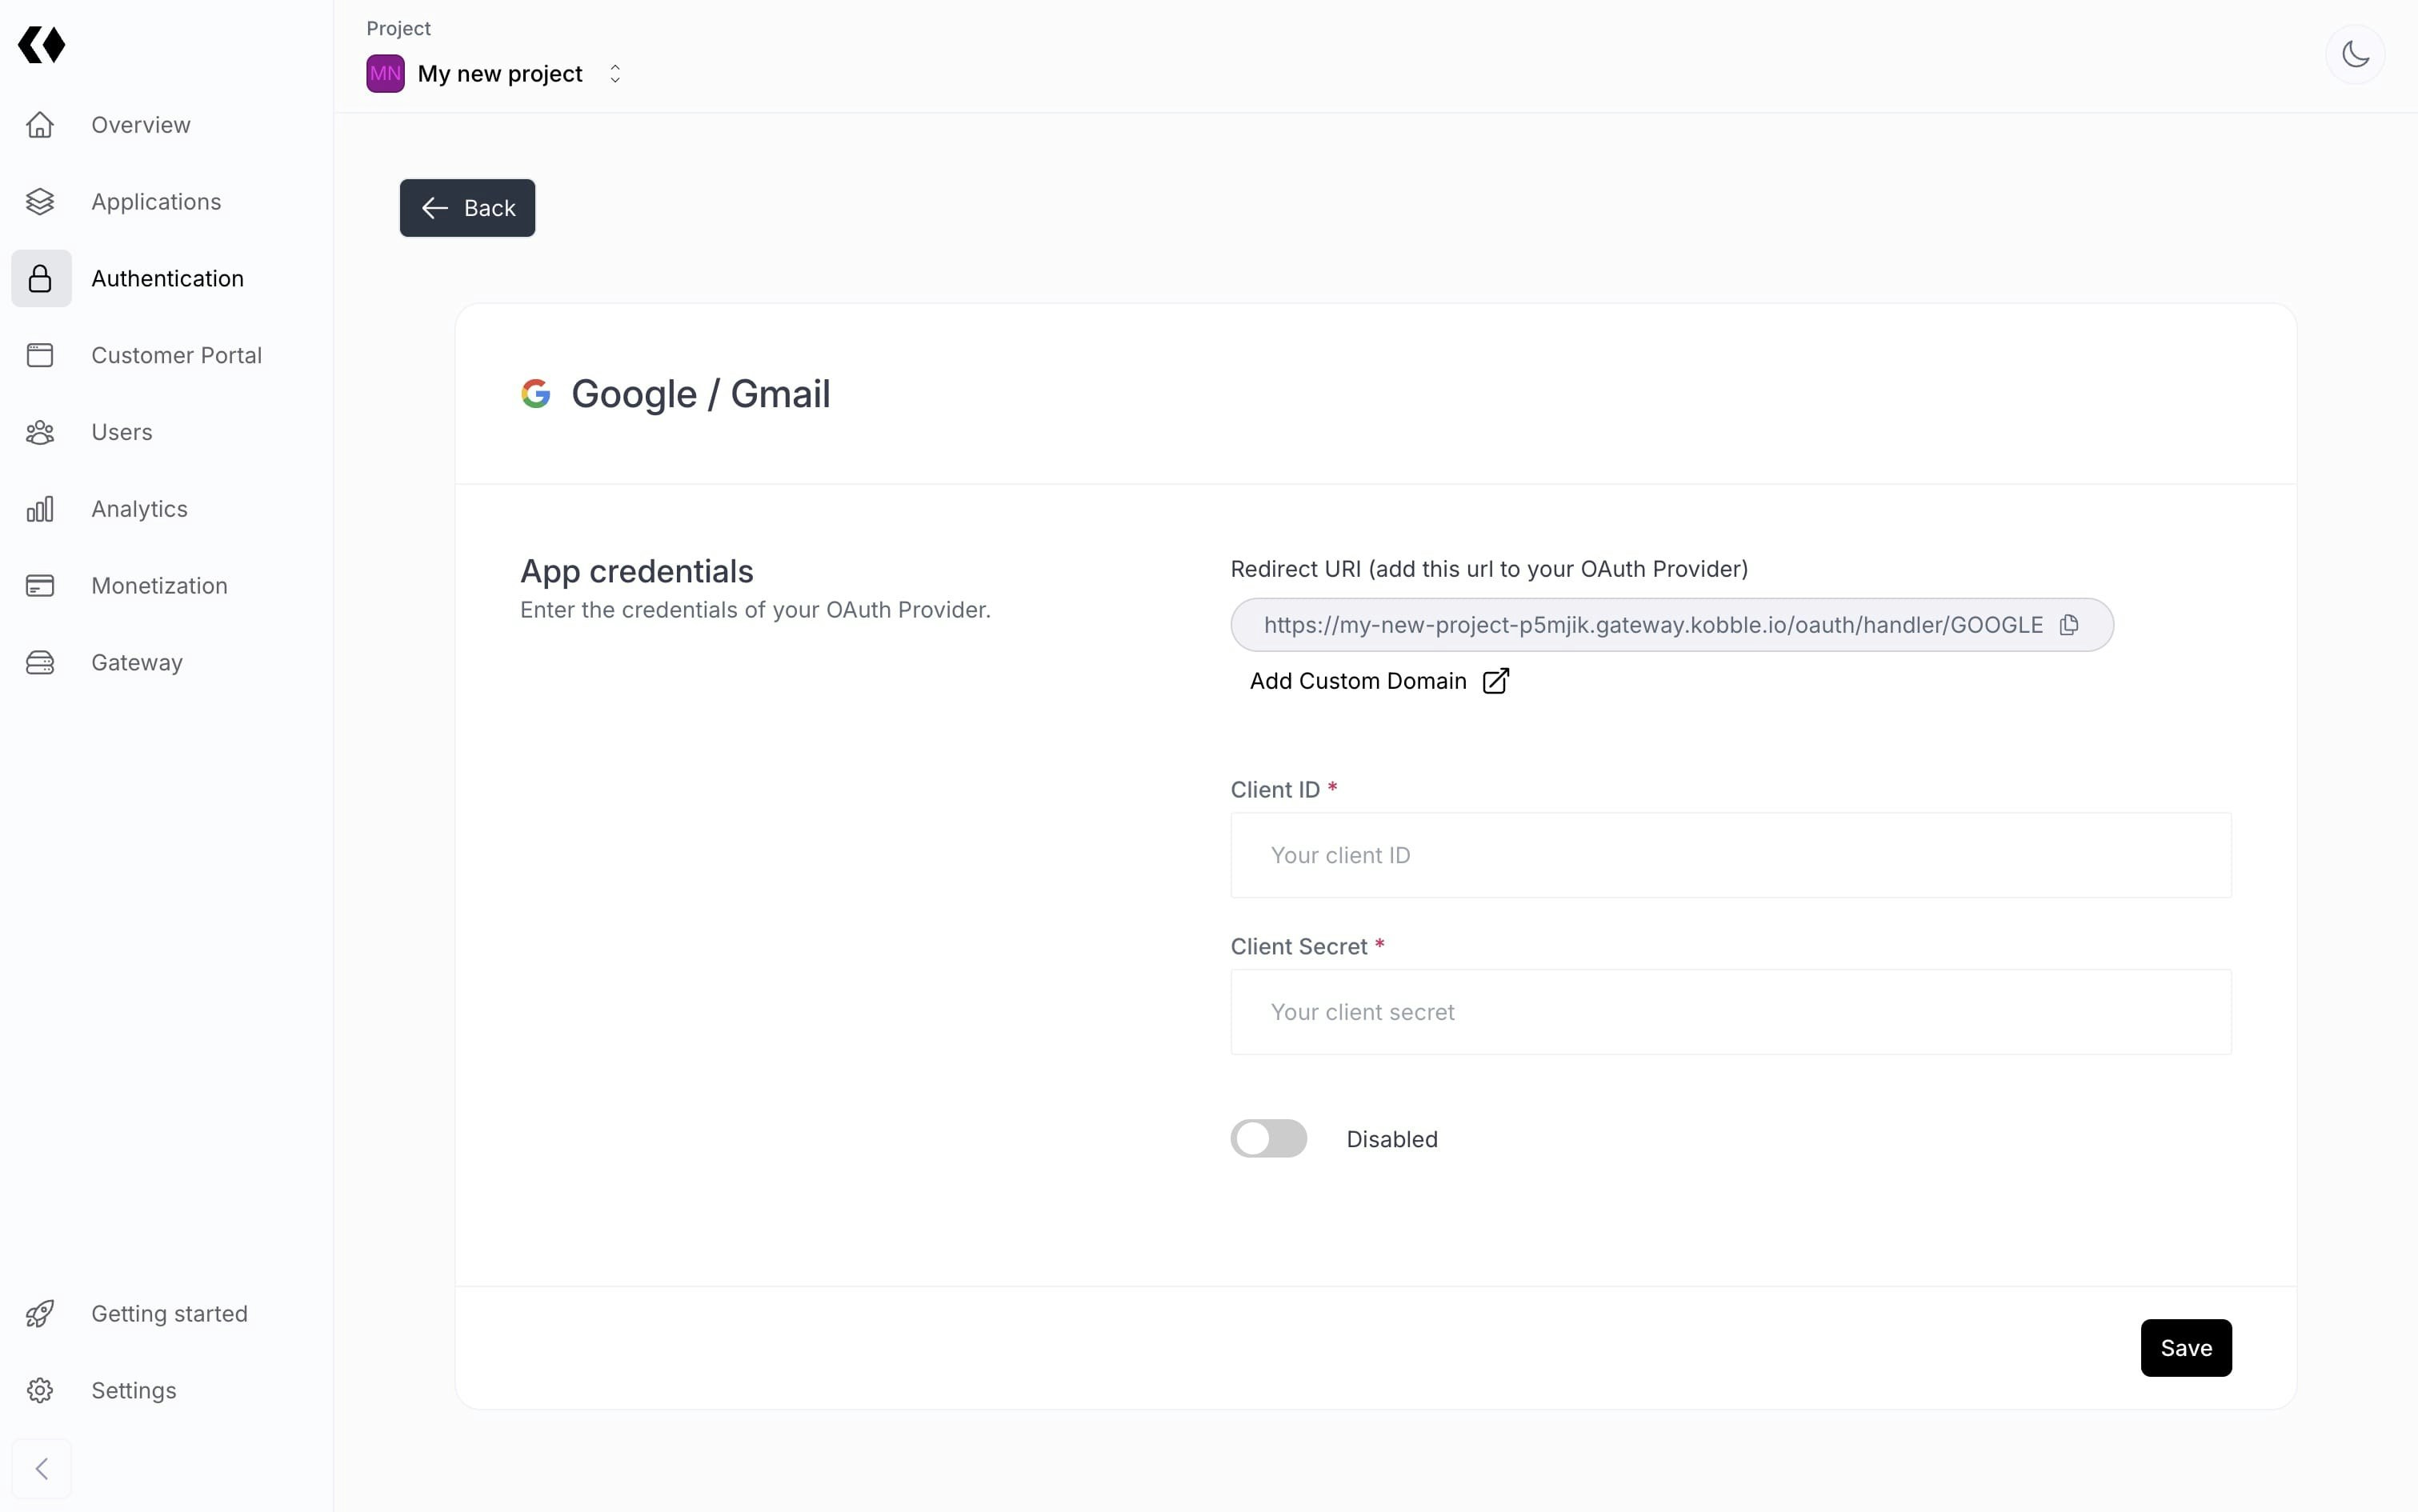
Social providers
You’ll need to visit the chosen provider’s settings page to generate a “Client ID” and “Client Secret.” Once obtained, input these details into the corresponding fields in your Kobble dashboard’s provider configuration section.